

With current retailers needing fast, dependable and user-friendly bills to operate their day-to-day sales successfully Odoo 19 point of sale (POS) provides a modern solution to simplify the process of selling products to customers and billing them for their purchases, update your inventory automatically and manage all types of payments in one place. Odoo pos will allow you as a retailer whether you have a grocery store, boutique store, restaurant or electronics retailer to streamline the sale of your merchandise and improve the overall customer experience.
The integration of Odoo 19 point of sale with inventory control, accounting and customer management is one of the best features about Odoo 19 point of sale. Upon completion of every sale at the Odoo POS terminal, stock quantities are automatically updated and financial records are updated in real-time meaning reduced manual labor and fewer operational mistakes.
This article will cover the entire process of setting up a product within Odoo 19 point of sale to start a sales transaction, processing customer order, payment, and printing a receipt. This is geared primarily towards first-time users or businesses that are new to using Odoo 19 point of sale.
Configuring the Point of Sale (POS) Module
Configuring your Point of Sale (POS) module will enable you to sell products. To do this, you first need to iGo to Point of Sale → Configuration → Point of Sale to set up your POS Shop(s). Depending on how your business is organized, you may need to create multiple Point of Sale Shops (i.e. Electronics, Grocery, or Restaurant Billing).
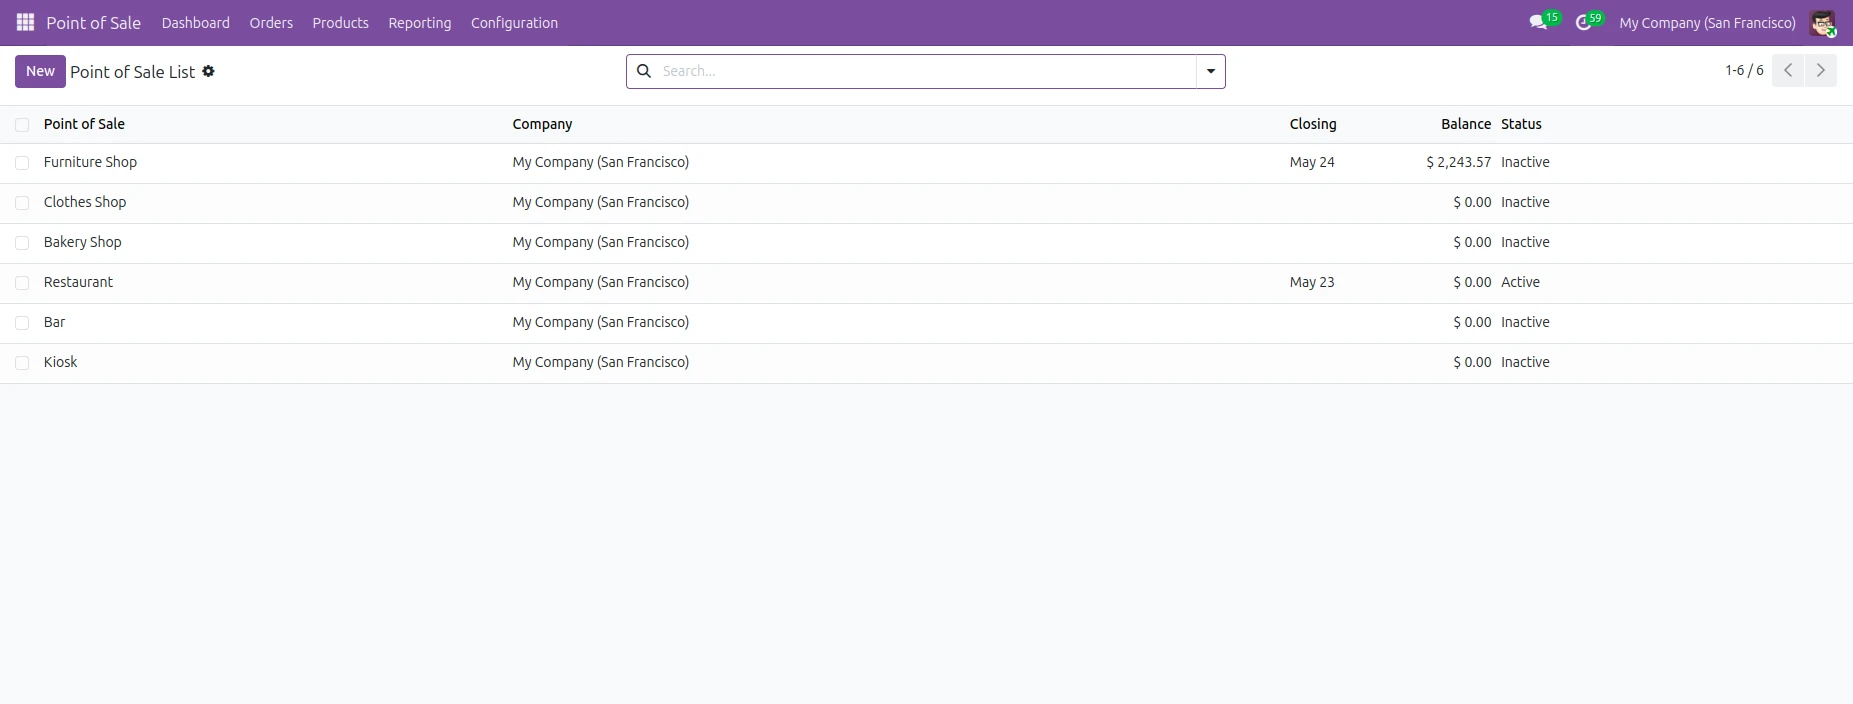
When creating your Point of Sale Shop, you can add a name for the shop, define your payment options, pricing rules, receipts, inventory locations, as well as other information.
In addition, you can utilize some advanced features of Odoo 19 (i.e. Customer display, Printing Invoice, Discounting, or Loyalty program) that allow you to have a fully functional POS. All of these options allow you to configure the process for your POS according to your retail operational needs.
Creating and Configuring Products
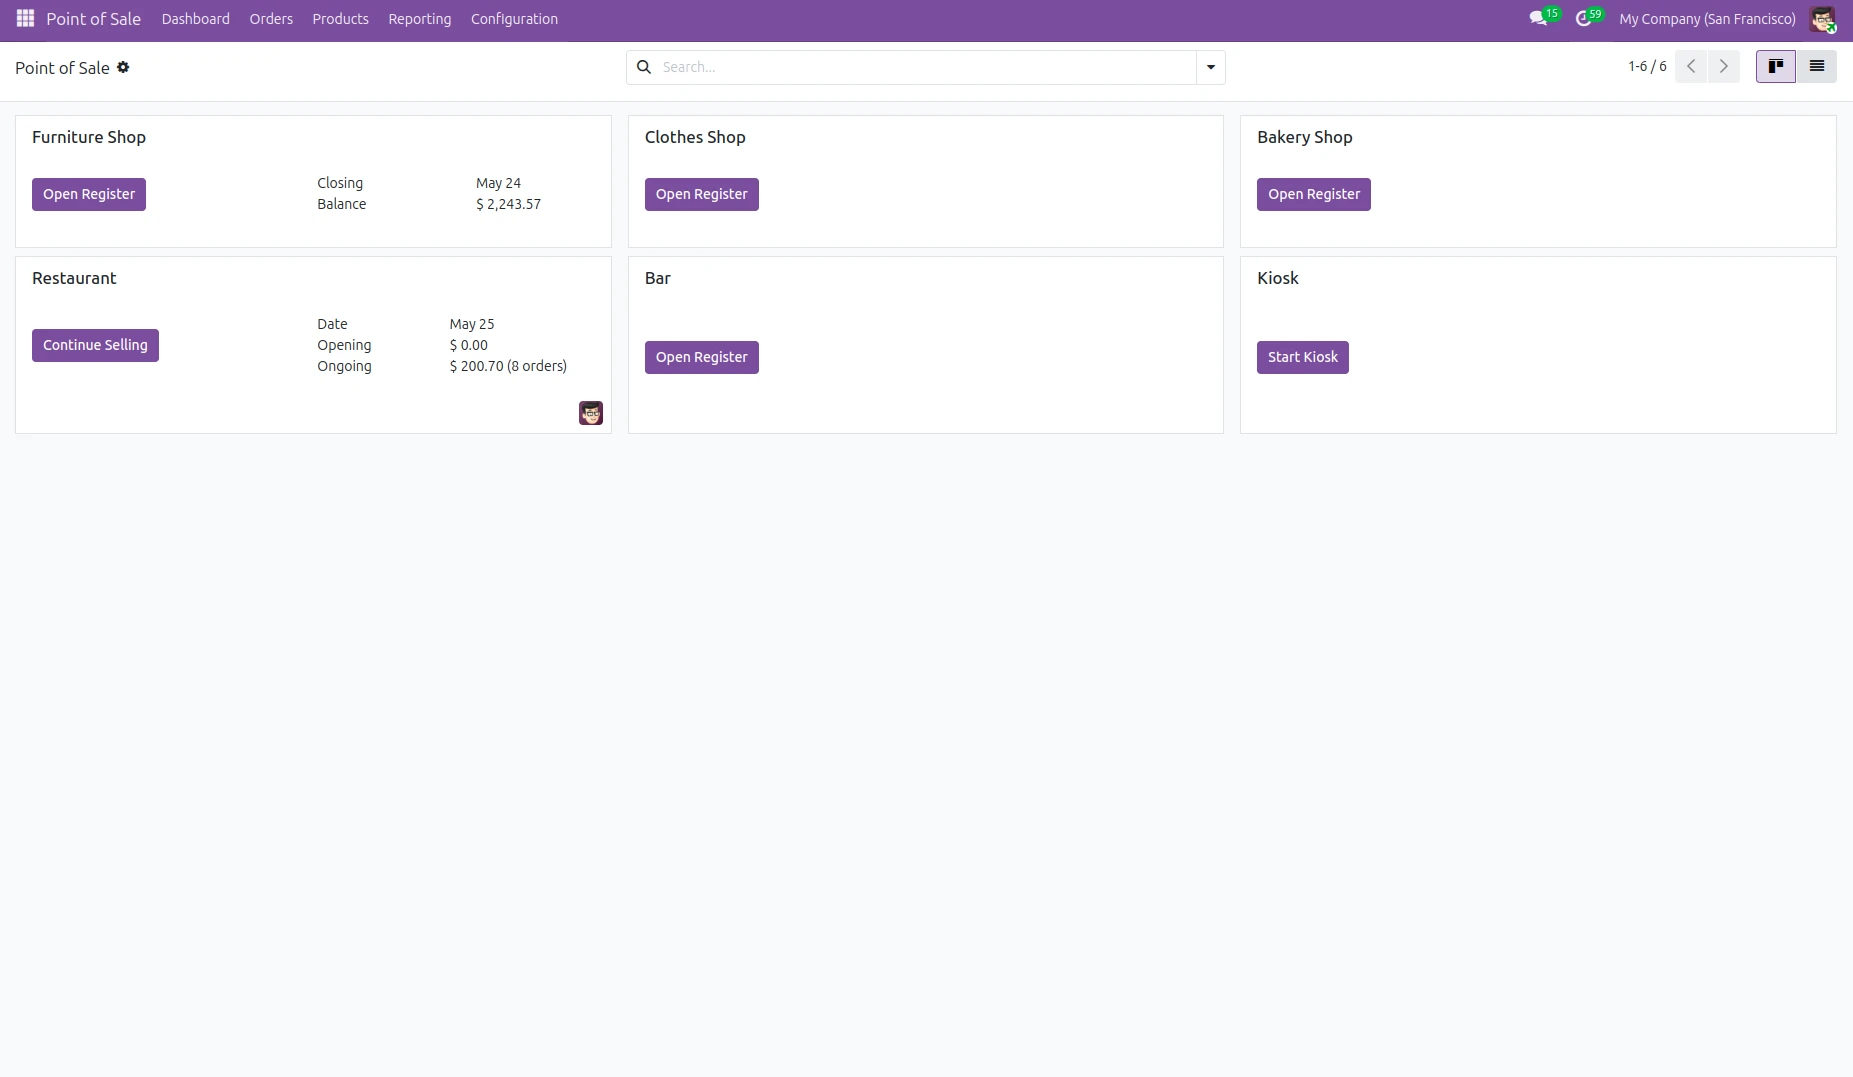
The next step after you've successfully set up the Point of Sale (POS) System is to set up your product catalog. You will start creating products that you can sell from the POS interface by navigating to Sales or Inventory > Products and creating the products.
Each product will have some important fields; for example: The name, the selling price, the purchase cost, the product category, and the inventory information. To make a product available through the POS System, you will need to enable the option "Available in POS" in the product form.
You can also upload product pictures, define a barcode number for the product and set up taxation. Pictures of products are valuable in a touch-screen billing environment because they allow your cashiers to quickly identify what product they need.
Odoo 19 supports many types of products including consumables, storable products, and services, making the POS appropriate for different industries such as retail store, restaurant, salon, and repair shop.
Start a POS Session
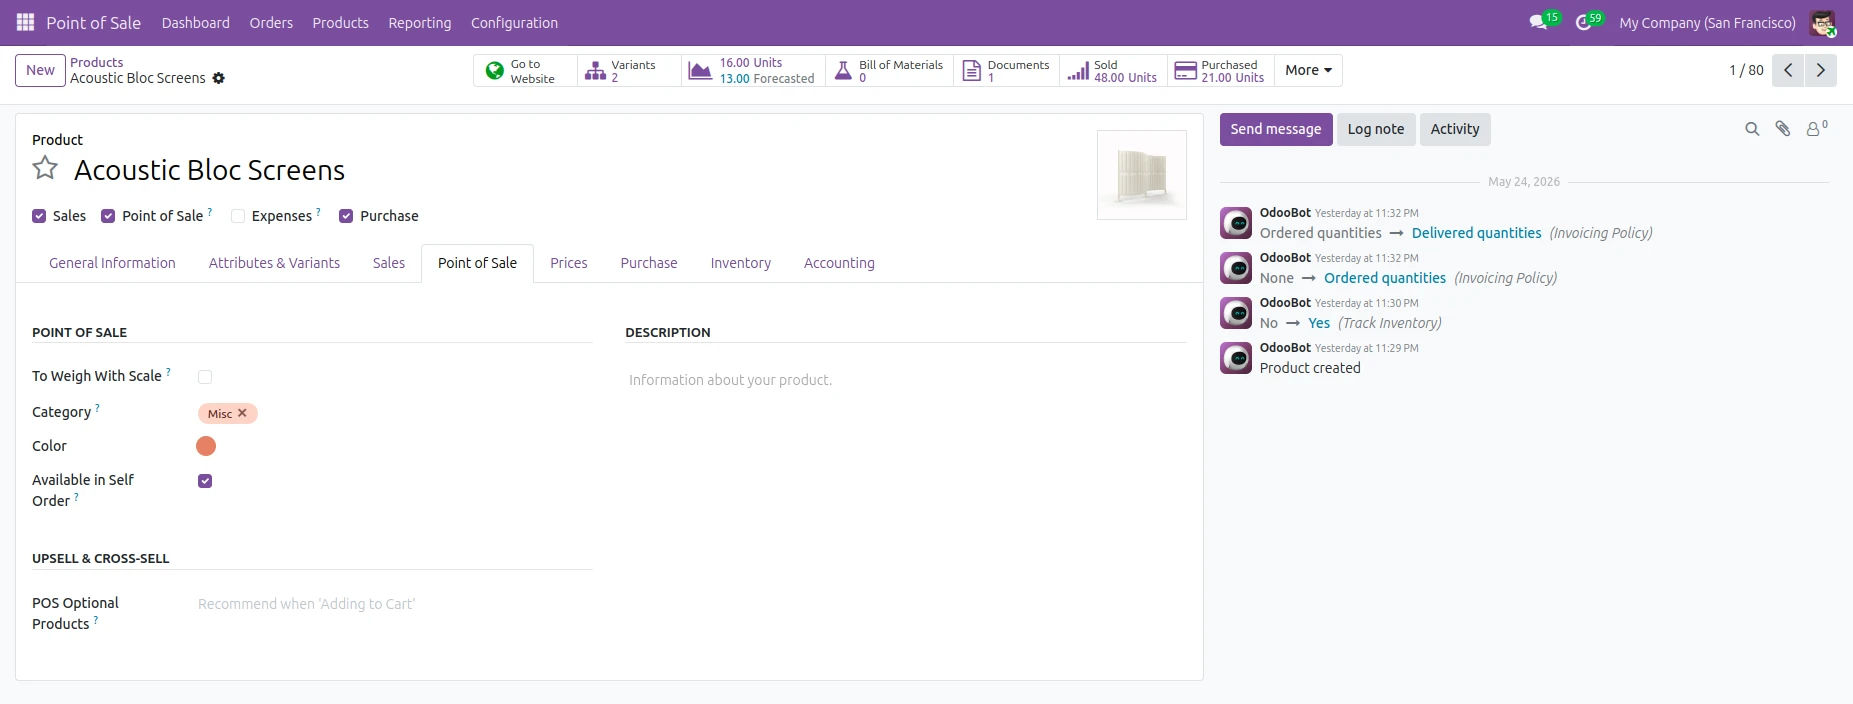
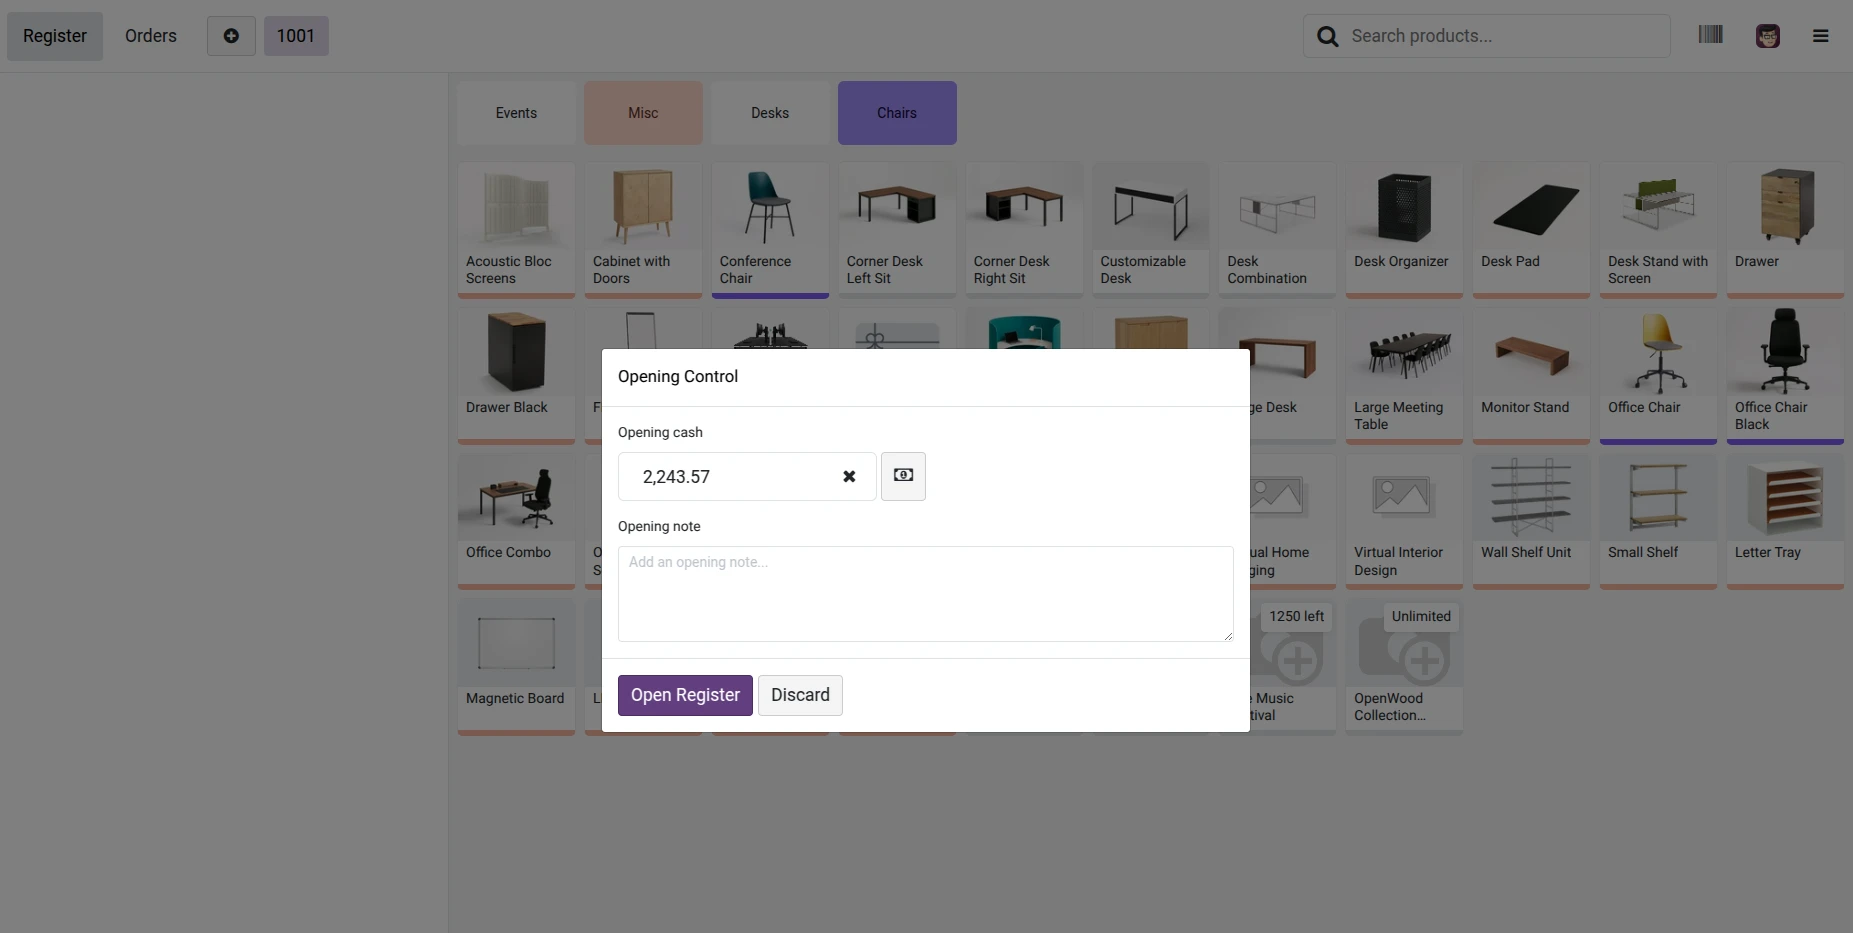
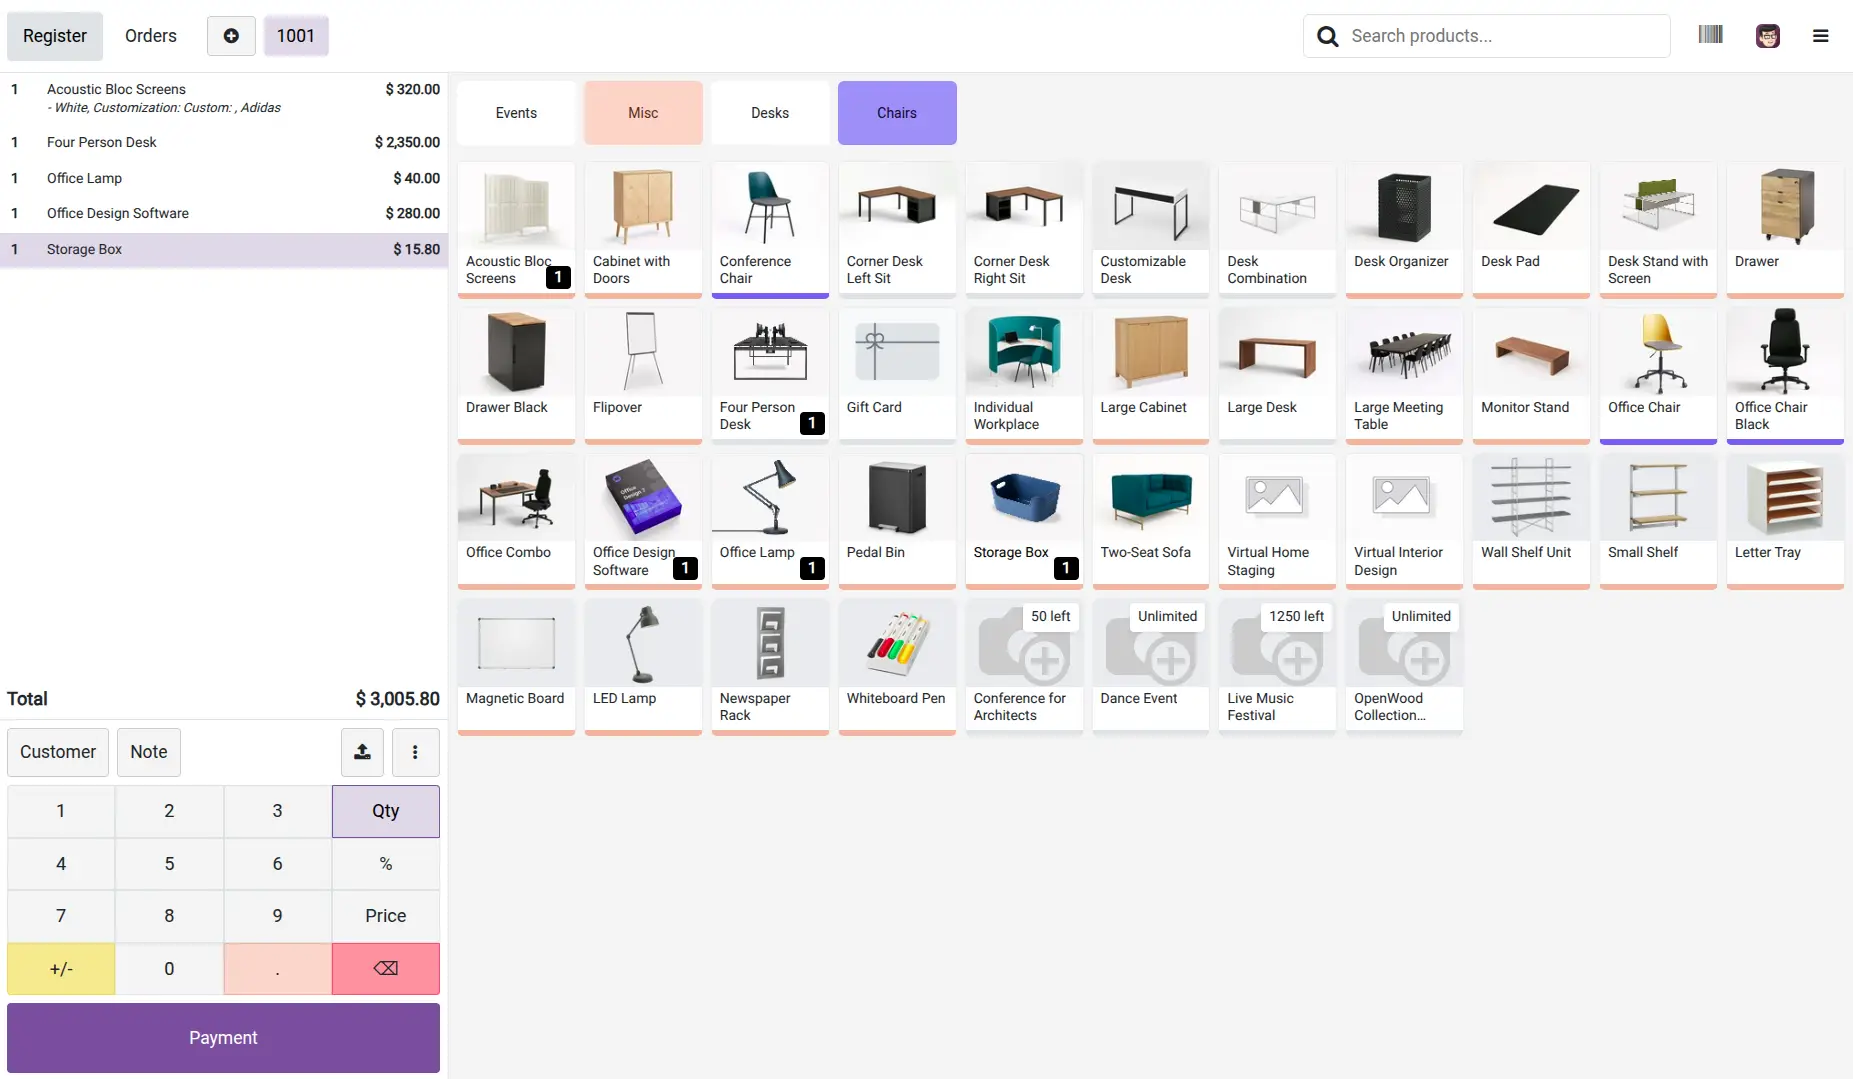
Once you are done with product setup, open the POS dashboard from the menu bar at the top of the application and click on the “Open Register” button to open a sales screen. All POS-enabled products will be displayed on the sales screen.
The Odoo 19 POS interface has been enhanced for rapid order processing. You can lookup a product by utilising a category lookup, entering the product name or using a barcode scanner. The clean and responsive layout of the POS interface allows you to provide quick, accurate and efficient service whether you're during peak hours.
Businesses that have a high volume of transactions and customers benefit greatly from the functionality of the Odoo 19 POS system. By eliminating the wait time between the customer and your point-of-sale equipment, the Odoo 19 POS system is instrumental in removing obstacles to your business productivity and maximizing the success of your operation.
Adding Product(s) onto Customer Orders
Cashiers can either use the cash register screen in order to select product(s) or scan them. When selecting products, each will automatically show in the order summary panel.
Using Odoo 19 POS, users can adjust quantity and apply discounts directly while processing orders for customer who already exists in the database by being able to quickly select their profile and be able to maintain their purchase history and loyalty tracking.
Real-time stock validation is also available. If a product becomes sold out or cannot be sold, the system will display stock warnings based on the settings configured to warn about selling the product without availability in inventory and improving inventory accuracy.
Payment Processing
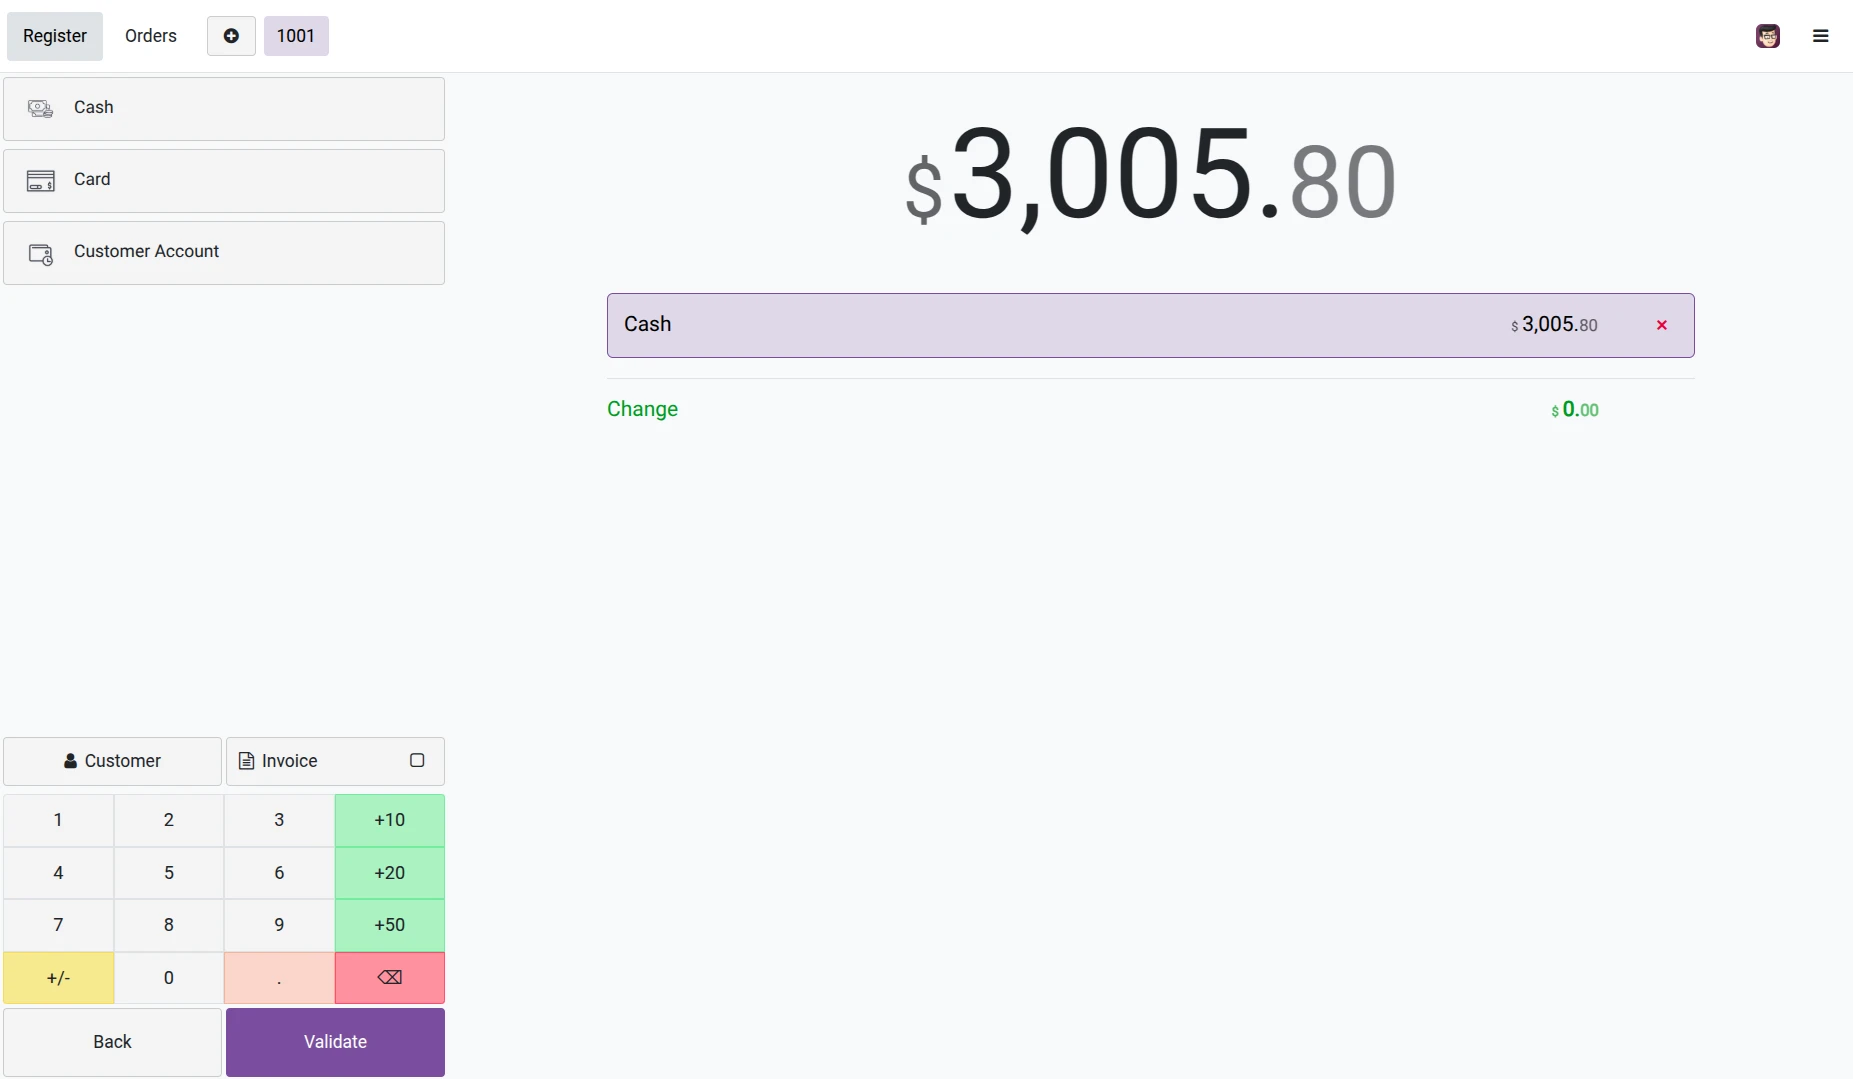
Once the cashier has added the items to the sale order, they can move on to the payment screen. Odoo 19 supports all types of payment (cash, Bank Transfer, Card Payment, Digital Wallet, Split Payments).
The cashier can select the payment type, then confirm the payment transaction. If the customer has given the cashier too much cash (i.e. the customer has given the cashier $50 in cash but the order is only $30), Odoo will automatically calculate the amount of excess money that is to be returned to the customer.
This module also provides the ability for restaurants/cafes to manage tips and take partial payments from customers. The flexibility of this module allows it to be adapted to many different service environments.
After confirming payment, orders will update and become valid through the use of a digital receipt automatically generated by Odoo, which contains: Products purchased; Taxes and discounts applied; Total; Payment information (including credit card or other payment method used). Businesses have two ways to distribute receipts: Both methods are possible: A receipt can either be printed right away using a POS printer, or emailed to customers, after which the business has 2 choices as to how to print and distribute their receipt. When using POS, the POS module is linked to both Odoo's accounting and inventory systems; thus, updating any paperwork or inventory records associated with your purchase can happen seamlessly for you and your customer.
Analyze POS Sales Reports
Odoo 19 POS Report has one of the best reporting features for operations management. Managers can get a comprehensive view of the sales performance, revenue generation, performance of their best-selling items, performance of their cashiers, and the overall summary of the sales executed during a session.
The generated reports provide information on the customers' buying habits and how to improve the businesses' operations. The fact that reports are generated immediately allows the business owners to watch their business performance in real time without having to wait for the end of the business day to calculate manually.


.jpg )



Leave a comment